
Grooming Tools
Steel Comb vs Slicker Brush: Do You Need Both? (Yes, Here’s Why)

Jan

Here’s a scenario we see constantly: a pet parent brushes their dog diligently with a slicker brush, brings them in for a groom, and is shocked when we find mats throughout the coat. “But I brush them all the time!”
The issue? They’re not using a comb.
The slicker brush and steel comb are a team. One without the other leaves the job half-done. Let’s break down what each tool does and why you genuinely need both.
The Short Answer
Slicker brush: Removes tangles and debris, fluffs coat
Steel comb: Checks your work and catches what the brush missed
Think of the slicker as doing the heavy lifting, and the comb as quality control. Skip the comb, and you’re just guessing whether you’ve actually removed all the tangles.
Why the Slicker Brush Alone Isn’t Enough
Slicker brushes are fantastic at detangling the top and mid-layers of the coat. But they have a limitation: you can’t always feel when you’ve reached the skin.
Here’s what happens when you only use a slicker:
- The top layer looks smooth and tangle-free
- Underneath, tangles remain close to the skin
- These hidden tangles tighten into mats over time
- By your next groom, there’s matting you didn’t know was there
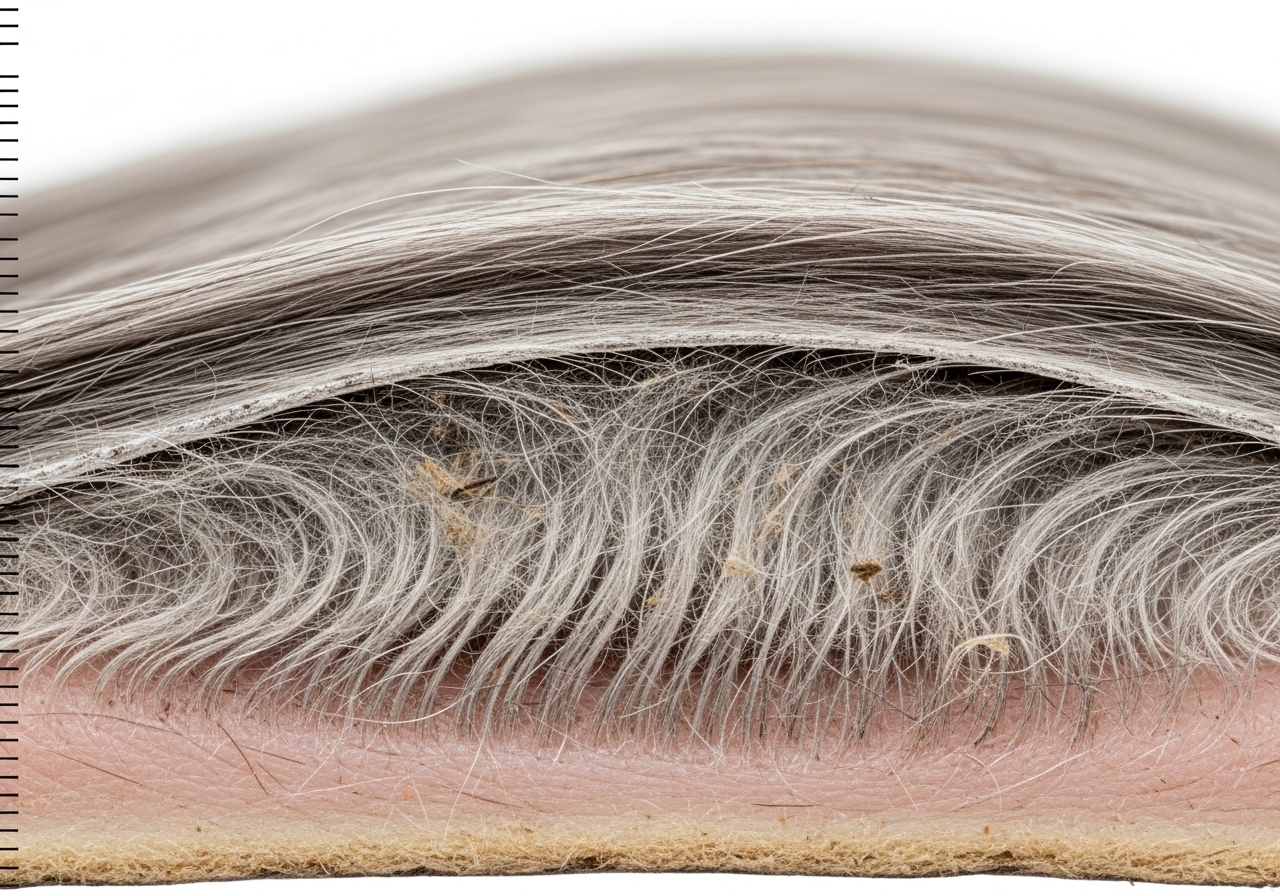
This is called “line brushing” — the coat looks good on the surface, but the problem is hiding underneath.
The Comb: Your Honesty Check
A steel comb with fine teeth will catch any tangle your slicker missed. If the comb glides through smoothly from root to tip, you’ve done a thorough job. If it catches or snags, there’s more work to do.
This “comb test” is how professional groomers verify a coat is truly tangle-free before cutting. It’s the difference between thinking you’ve brushed well and knowing you have.
How to Use Them Together
Step 1: Slicker Brush First
- Spray coat lightly with detangling spray
- Work in sections, brushing from skin outward
- Cover entire body: legs, chest, armpits, behind ears, tail
- Brush until coat feels smooth
Step 2: Steel Comb to Check
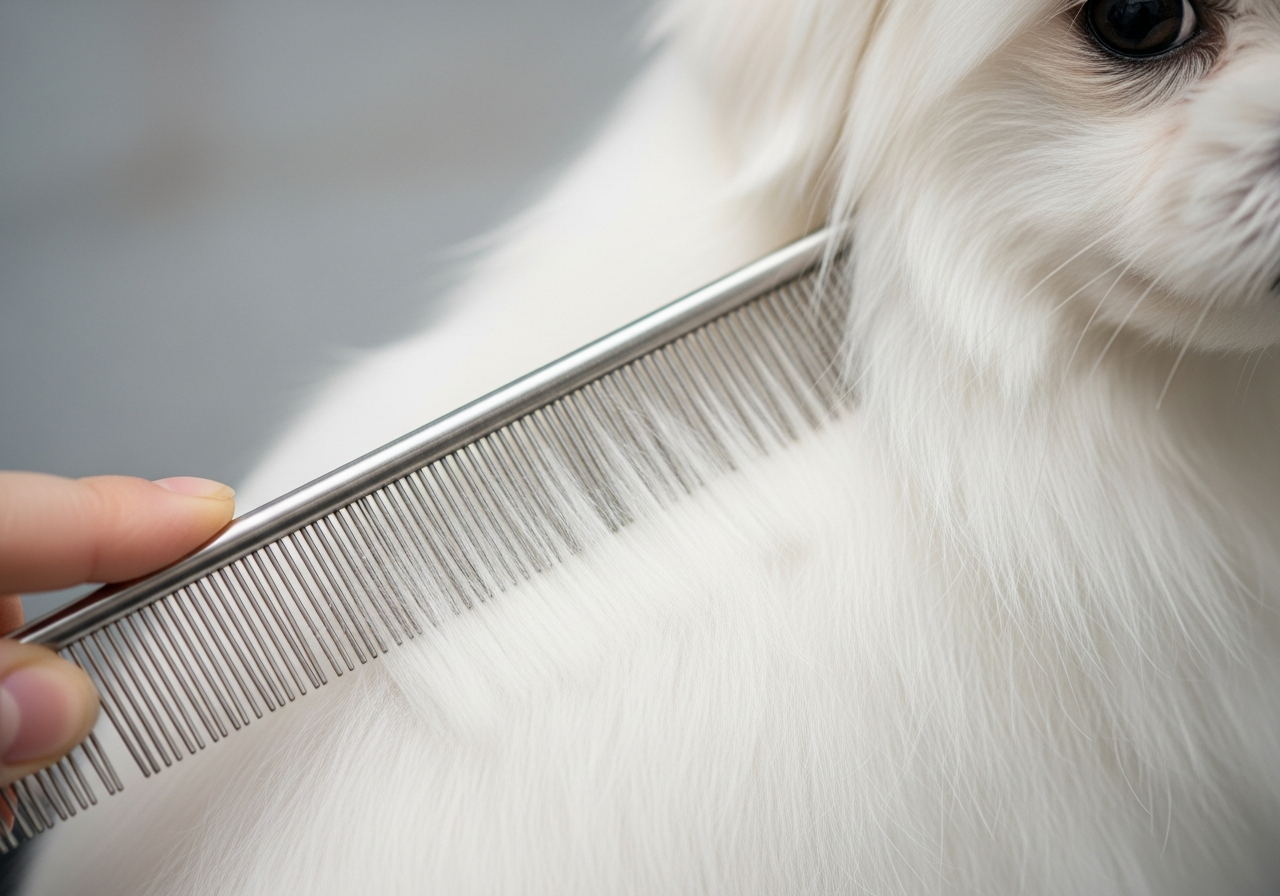
- Start at the head, work to tail
- Comb through each section you brushed
- If comb catches: go back to slicker on that spot
- If comb glides through: move to next section
Step 3: Repeat Problem Areas
Common spots where the comb catches after brushing:
- Behind ears
- Under collar line
- Armpits
- Between back legs
- Base of tail
These friction areas need extra attention. If the comb catches here, brush again, then comb again.
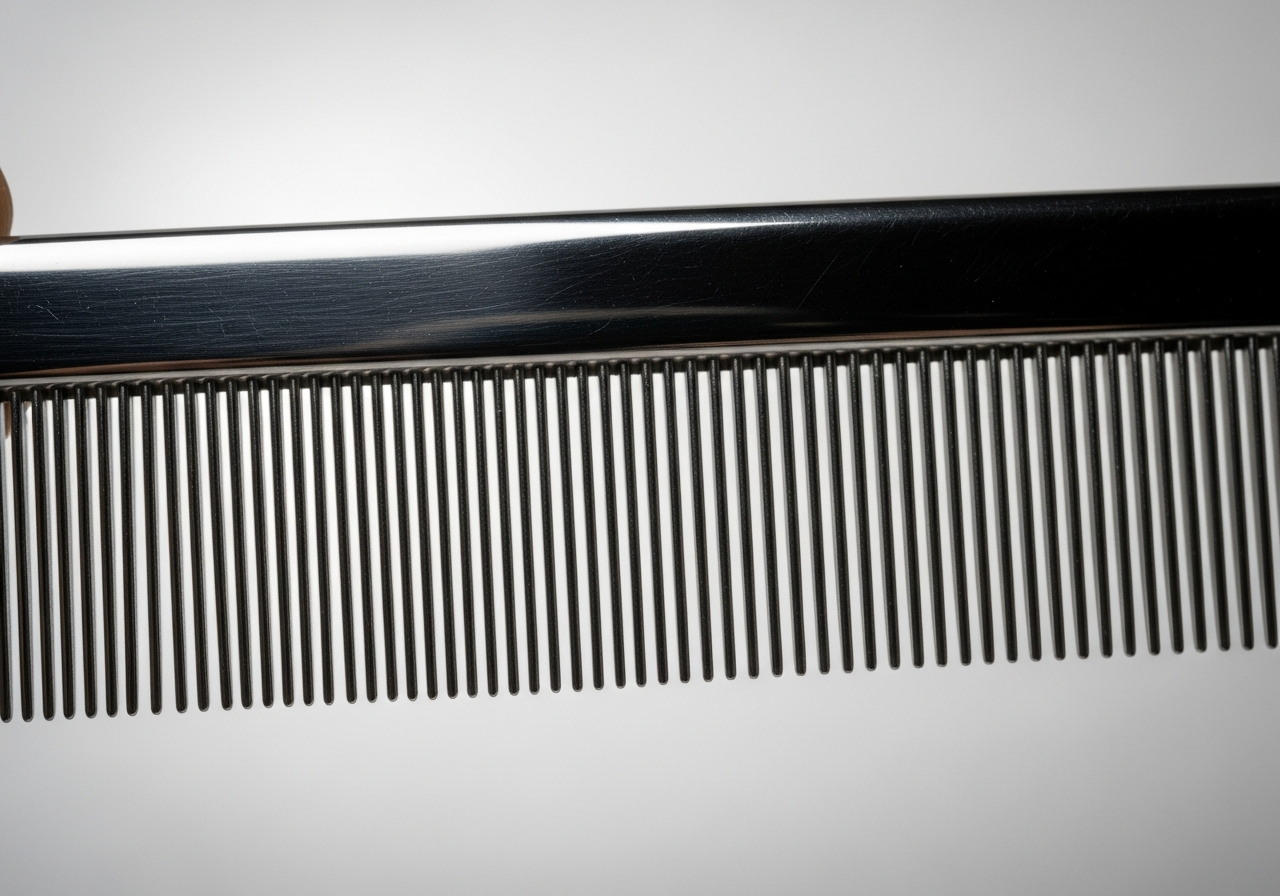
Choosing the Right Steel Comb
Not all combs are equal. Here’s what to look for:
Teeth Spacing
- Fine teeth (close together): For finishing work, face, ears, fine-textured coats
- Medium teeth: General purpose, most coat types
- Coarse teeth (wide apart): Thick coats, working through tangles
Best Option: Dual-Width Comb
Most groomers use a “greyhound comb” or dual-width comb with fine teeth on one half and coarse on the other. This handles most situations with one tool.
Other Features
- Rotating teeth: Reduce pulling, more comfortable for dog
- Rounded tips: Gentler on skin
- Solid construction: Cheap combs bend and break
When the Comb Is the Main Tool
While the slicker does most of the detangling work, there are times when the comb is the primary tool:
Face and Ears
Slicker brushes are too large and aggressive for delicate facial areas. Use a fine-toothed comb for:
- Around eyes (carefully!)
- Muzzle and beard
- Inside and behind ears
Finishing Work
After scissoring or clipping, a comb gives that smooth, polished finish that a slicker can’t achieve.
Very Small Dogs
For tiny dogs (Chihuahuas, toy breeds), a comb may be sufficient for daily maintenance, with occasional slicker work for deeper tangles.
Comparison: Slicker vs Steel Comb
| Feature | Slicker Brush | Steel Comb |
|---|---|---|
| Primary job | Remove tangles | Verify tangles are gone |
| Coverage | Large areas quickly | Precise, section-by-section |
| Detangling power | High | Low-medium |
| Face/ear safe | Too bulky | Yes (fine-tooth) |
| Can use alone | Yes (but not recommended) | Only for light maintenance |
| Use order | First | Second (to check) |
Our Recommended Combo
For Doodles and Curly Coats
- Slicker: Chris Christensen Big G or Hertzko Self-Cleaning
- Comb: Greyhound-style dual-width with rotating teeth
For Long Silky Coats
- Slicker: Soft-pin slicker or pin brush
- Comb: Fine-tooth greyhound comb
For Double Coats
- Slicker: Firm slicker for topcoat tangles
- Comb: Wide-tooth for working through, fine-tooth for finishing
- Plus: Undercoat rake or deshedding tool
Common Mistakes
Mistake 1: Combing Before Brushing
The comb is for checking, not for primary detangling. Trying to comb through tangles is painful for your dog and ineffective. Brush first, comb second.
Mistake 2: Skipping the Comb Entirely
This is the “I brush all the time but still get mats” mistake. Without the comb test, you’re just hoping you got all the tangles.
Mistake 3: Wrong Comb for Coat Type
Using a fine-tooth comb on a thick, dense coat is frustrating and slow. Match your comb teeth spacing to your dog’s coat density.
Mistake 4: Cheap Combs
Low-quality combs have rough edges that catch and break hair. Invest in a proper grooming comb — it lasts forever and treats the coat gently.
The Bottom Line
You need both tools. The slicker brush does the work; the steel comb confirms the work is done. Together, they’re a complete home grooming system.
Minimum grooming kit for most dogs:
- Quality slicker brush
- Dual-width steel comb
- Detangling spray
That’s genuinely all you need for effective between-groom maintenance. Everything else is optional (though a mat splitter is helpful for emergencies).
Want us to show you the brush-then-comb technique on your specific dog? Ask during your next groom — we’re always happy to demo proper technique.
Related Reading
Continue exploring our grooming guides:
- Steel Comb vs Slicker Brush: Doodle Grooming
- FURminator vs Slicker Brush: Doodle Expert Guide
- Pin Brush vs Slicker Brush: Doodle Grooming
Ready to book a professional grooming session? Book your appointment or view our services.
Stop Comparing. Start With What Works.
Marine picked the tools in the Cavoodle Puppy Kit because they work — not because they’re popular. The right slicker brush, a quality comb, salon-grade shampoo, and a first groom voucher. Three tiers from $69.
See Marine’s Picks
Pingback: Steel Comb vs Slicker: Doodle Care