
Grooming Tips
How to Remove Dog Mats Without Cutting: A Groomer’s Step-by-Step Guide

Jan

You’re brushing your dog and feel it — that dreaded lump of tangled fur that won’t budge. Your first instinct might be to grab scissors. Don’t. Cutting mats is how dogs end up with bald patches (or worse, nicked skin).
As professional groomers, we deal with mats daily. Here’s the exact technique we use to remove them safely — and when we recommend giving up and visiting a professional.
What You’ll Need
- Slicker brush — Fine pins for working through tangles (see our brush guide)
- Steel comb — For checking if mats are fully removed
- Detangling spray or conditioner — Makes the process easier and less painful
- Mat splitter or dematting tool — For stubborn mats (optional but helpful)
- Treats — Essential for keeping your dog cooperative
Step-by-Step Mat Removal
Step 1: Assess the Mat
Before you start, figure out what you’re dealing with:
- Small, loose tangles: Can usually be brushed out in minutes
- Medium mats: Firm but still have some give — workable at home
- Tight, pelted mats: Hard as felt, close to skin — see a groomer
If you can’t slip your finger between the mat and the skin, it’s too tight to safely remove at home.
Step 2: Apply Detangling Spray
Saturate the mat with detangling spray or diluted conditioner. Let it sit for 2-3 minutes. This softens the mat and reduces pulling on your dog’s skin.
Pro tip: Work the spray into the mat with your fingers — don’t just spray the surface.
Step 3: Isolate the Mat
Hold the base of the mat (where it meets the skin) with your fingers. This prevents pulling on your dog’s skin as you work. Your dog will thank you.
Step 4: Work From the Outside In
This is where most people go wrong. Don’t try to brush through the entire mat at once.
- Start at the outer edges of the mat, not the center
- Use short, gentle strokes with your slicker brush
- Work out small sections at a time
- Gradually work your way toward the center
- Re-apply detangling spray as needed
Think of it like untangling a knot in a necklace — you work the edges loose first.
Step 5: Use a Mat Splitter for Stubborn Mats
For mats that won’t budge with brushing alone, a mat splitter can help. Slide the blade through the mat (away from the skin) to break it into smaller, more manageable pieces. Then brush out each piece.
Caution: Mat splitters have sharp blades. Keep them away from skin and never use them on mats that are tight against the body.
Step 6: Verify with a Comb
Once you think the mat is gone, run a steel comb through the area. If it glides through smoothly, you’re done. If it catches, there’s still a tangle to work out.
Common Mat Locations by Breed
Mats tend to form in predictable spots. For doodle breeds especially, check these areas:
| Location | Why It Mats | Prevention |
|---|---|---|
| Behind ears | Friction from scratching, collars | Daily attention to this area |
| Armpits | Movement and friction | Check after every walk |
| Under collar | Constant rubbing | Remove collar daily, brush underneath |
| Rear end | Moisture, bathroom visits | Keep this area trimmed short |
| Belly | Harness rubbing, lying down | Brush when they’re relaxed on their back |
For breed-specific mat zones, check our grooming guides: Cavoodle, Labradoodle, Groodle, Bernedoodle.
When to Stop and See a Groomer
Not every mat can (or should) be removed at home. Stop and visit a professional if:
- The mat is tight against the skin — Risk of cutting skin
- Your dog is stressed or in pain — Even with treats, some mats hurt
- Mats cover large areas — Pelted coats need professional shave-down
- You see skin irritation — Redness, sores, or smell under mats
- You’ve been working for 15+ minutes on one mat — Diminishing returns
There’s no shame in visiting a groomer for mat removal. We have professional tools (like high-velocity dryers) that make the process faster and less stressful.
Preventing Future Mats
The best mat removal is prevention. Here’s what works:
1. Brush More Frequently
For mat-prone breeds like doodles, daily brushing prevents most issues. See our guide: How Often Should I Brush My Dog?
2. Use the Right Tools
A quality slicker brush and steel comb are essential. Cheap brushes don’t penetrate to the skin where mats form. Check our tool comparisons for recommendations.
3. Brush to the Skin
Surface brushing is the #1 mistake we see. You need to reach the skin — that’s where tangles start. Use the “line brushing” technique: part the fur and brush in sections.
4. Dry Thoroughly After Baths
Wet fur mats faster than dry fur. After baths or swimming, dry your dog completely — ideally with a blow dryer on cool setting while brushing.
5. Consider a Maintenance Cut
If you can’t commit to daily brushing, ask your groomer for a shorter maintenance cut. Less fur = fewer mats.
What NOT to Do
- Don’t use scissors — Too easy to cut skin hidden under mats
- Don’t wet the mat first — Water tightens mats (use detangling spray instead)
- Don’t rush — Pulling causes pain and makes dogs fear grooming
- Don’t scold your dog — Not their fault; stay calm and use treats
Final Thoughts
Mats happen to the best-cared-for dogs. What matters is catching them early and removing them properly. With the right technique and tools, you can handle most tangles at home.
But if you’re dealing with frequent mats, that’s a sign to adjust your routine. Our free Doodle Coat Care Guide covers the 5-minute daily routine that prevents 90% of matting — based on what we teach clients in our salon.
Need help with a particularly stubborn mat situation? Book an appointment and we’ll sort it out.
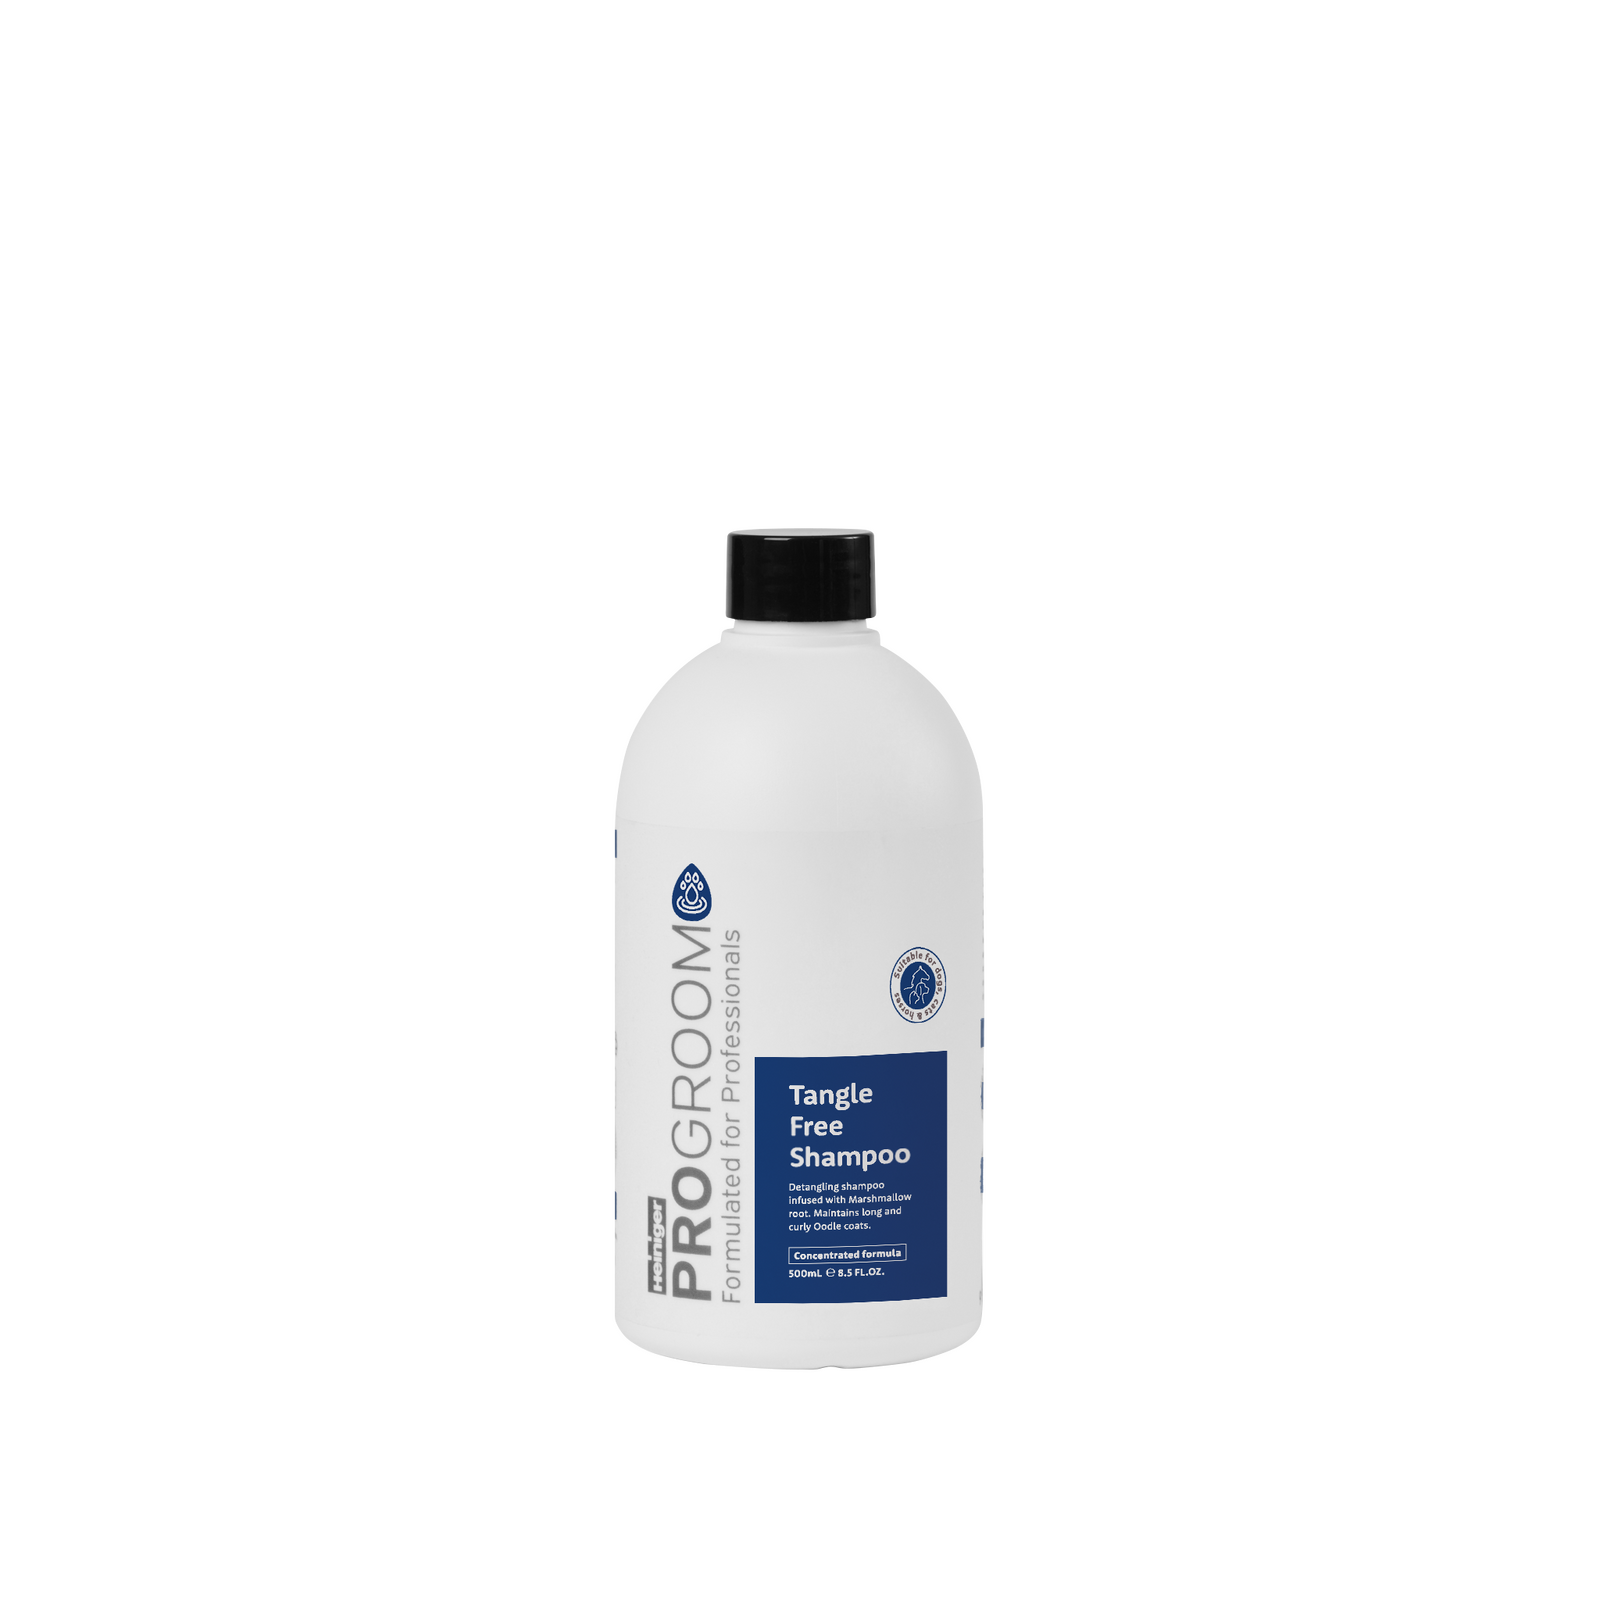
Tangle Prevention Shampoo
Prevention is easier than detangling. Progroom Tangle Free Shampoo ($24.35) conditions the coat during washing, making post-bath brushing much easier and reducing future matting. We use it daily in our salon.
Pingback: Dog Brushing Training: Step-by-Step